Viewing entries in
Photography

DANFORTH SIDEBAR

Comment

DANFORTH SIDEBAR

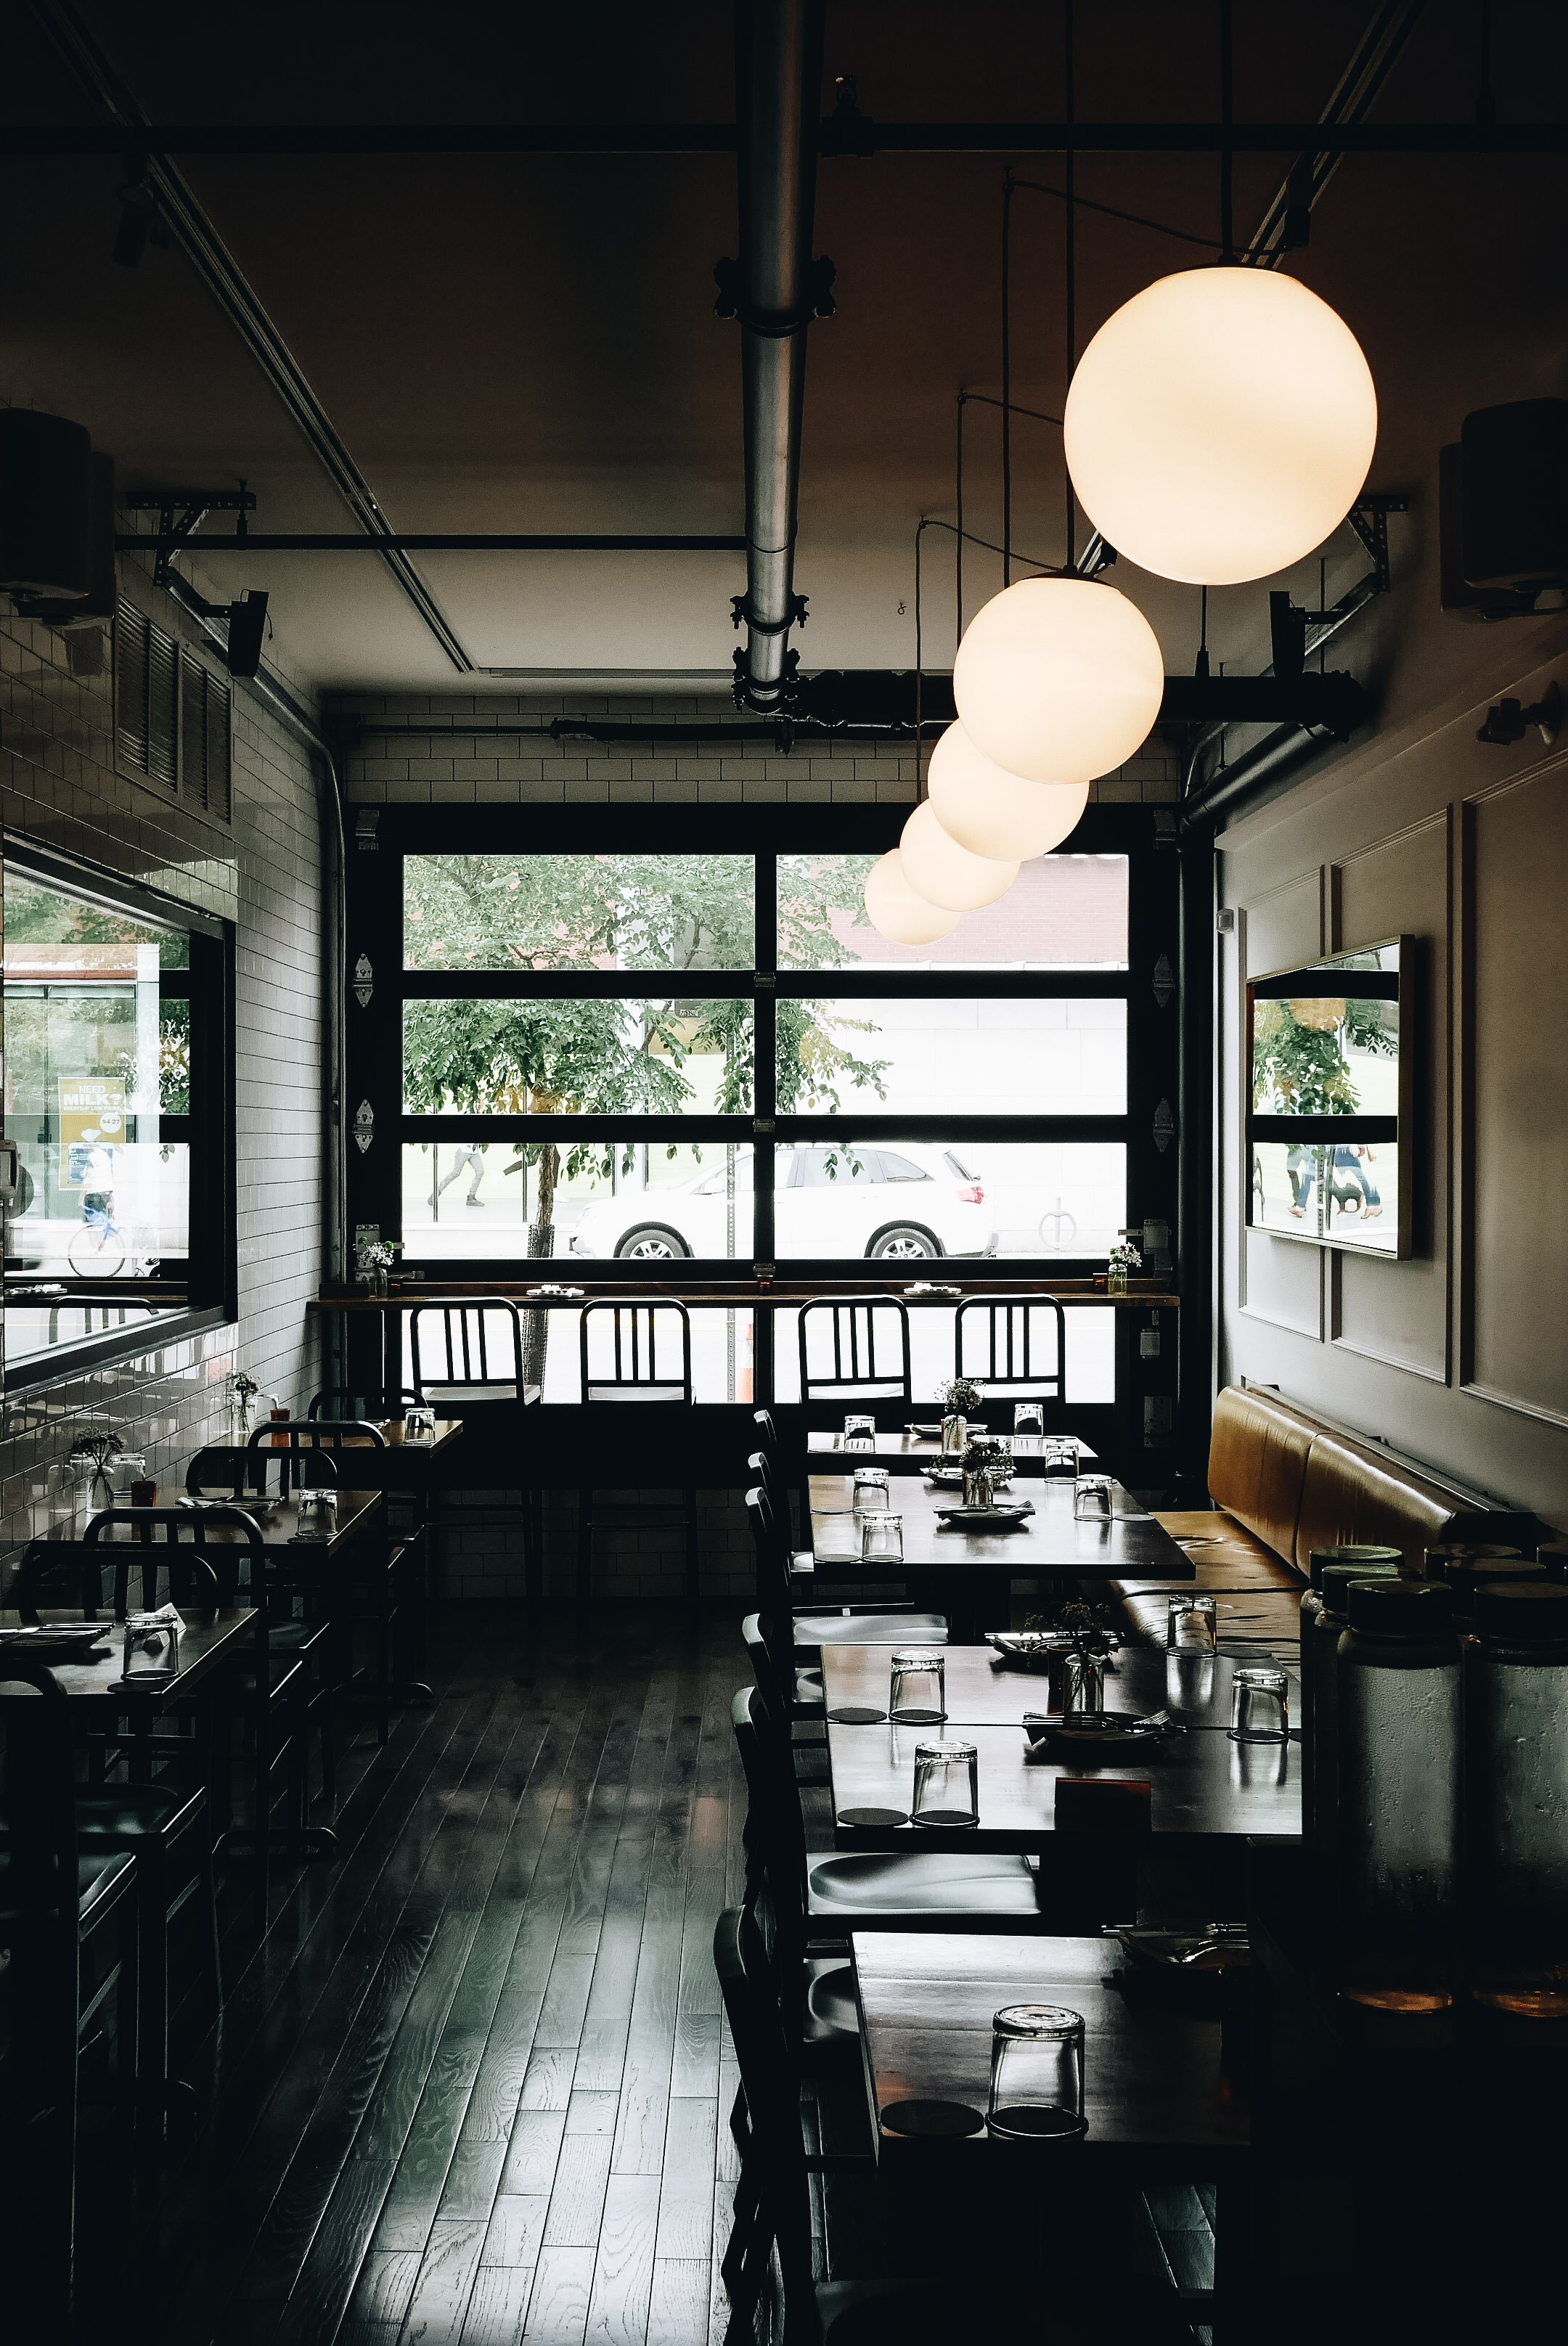
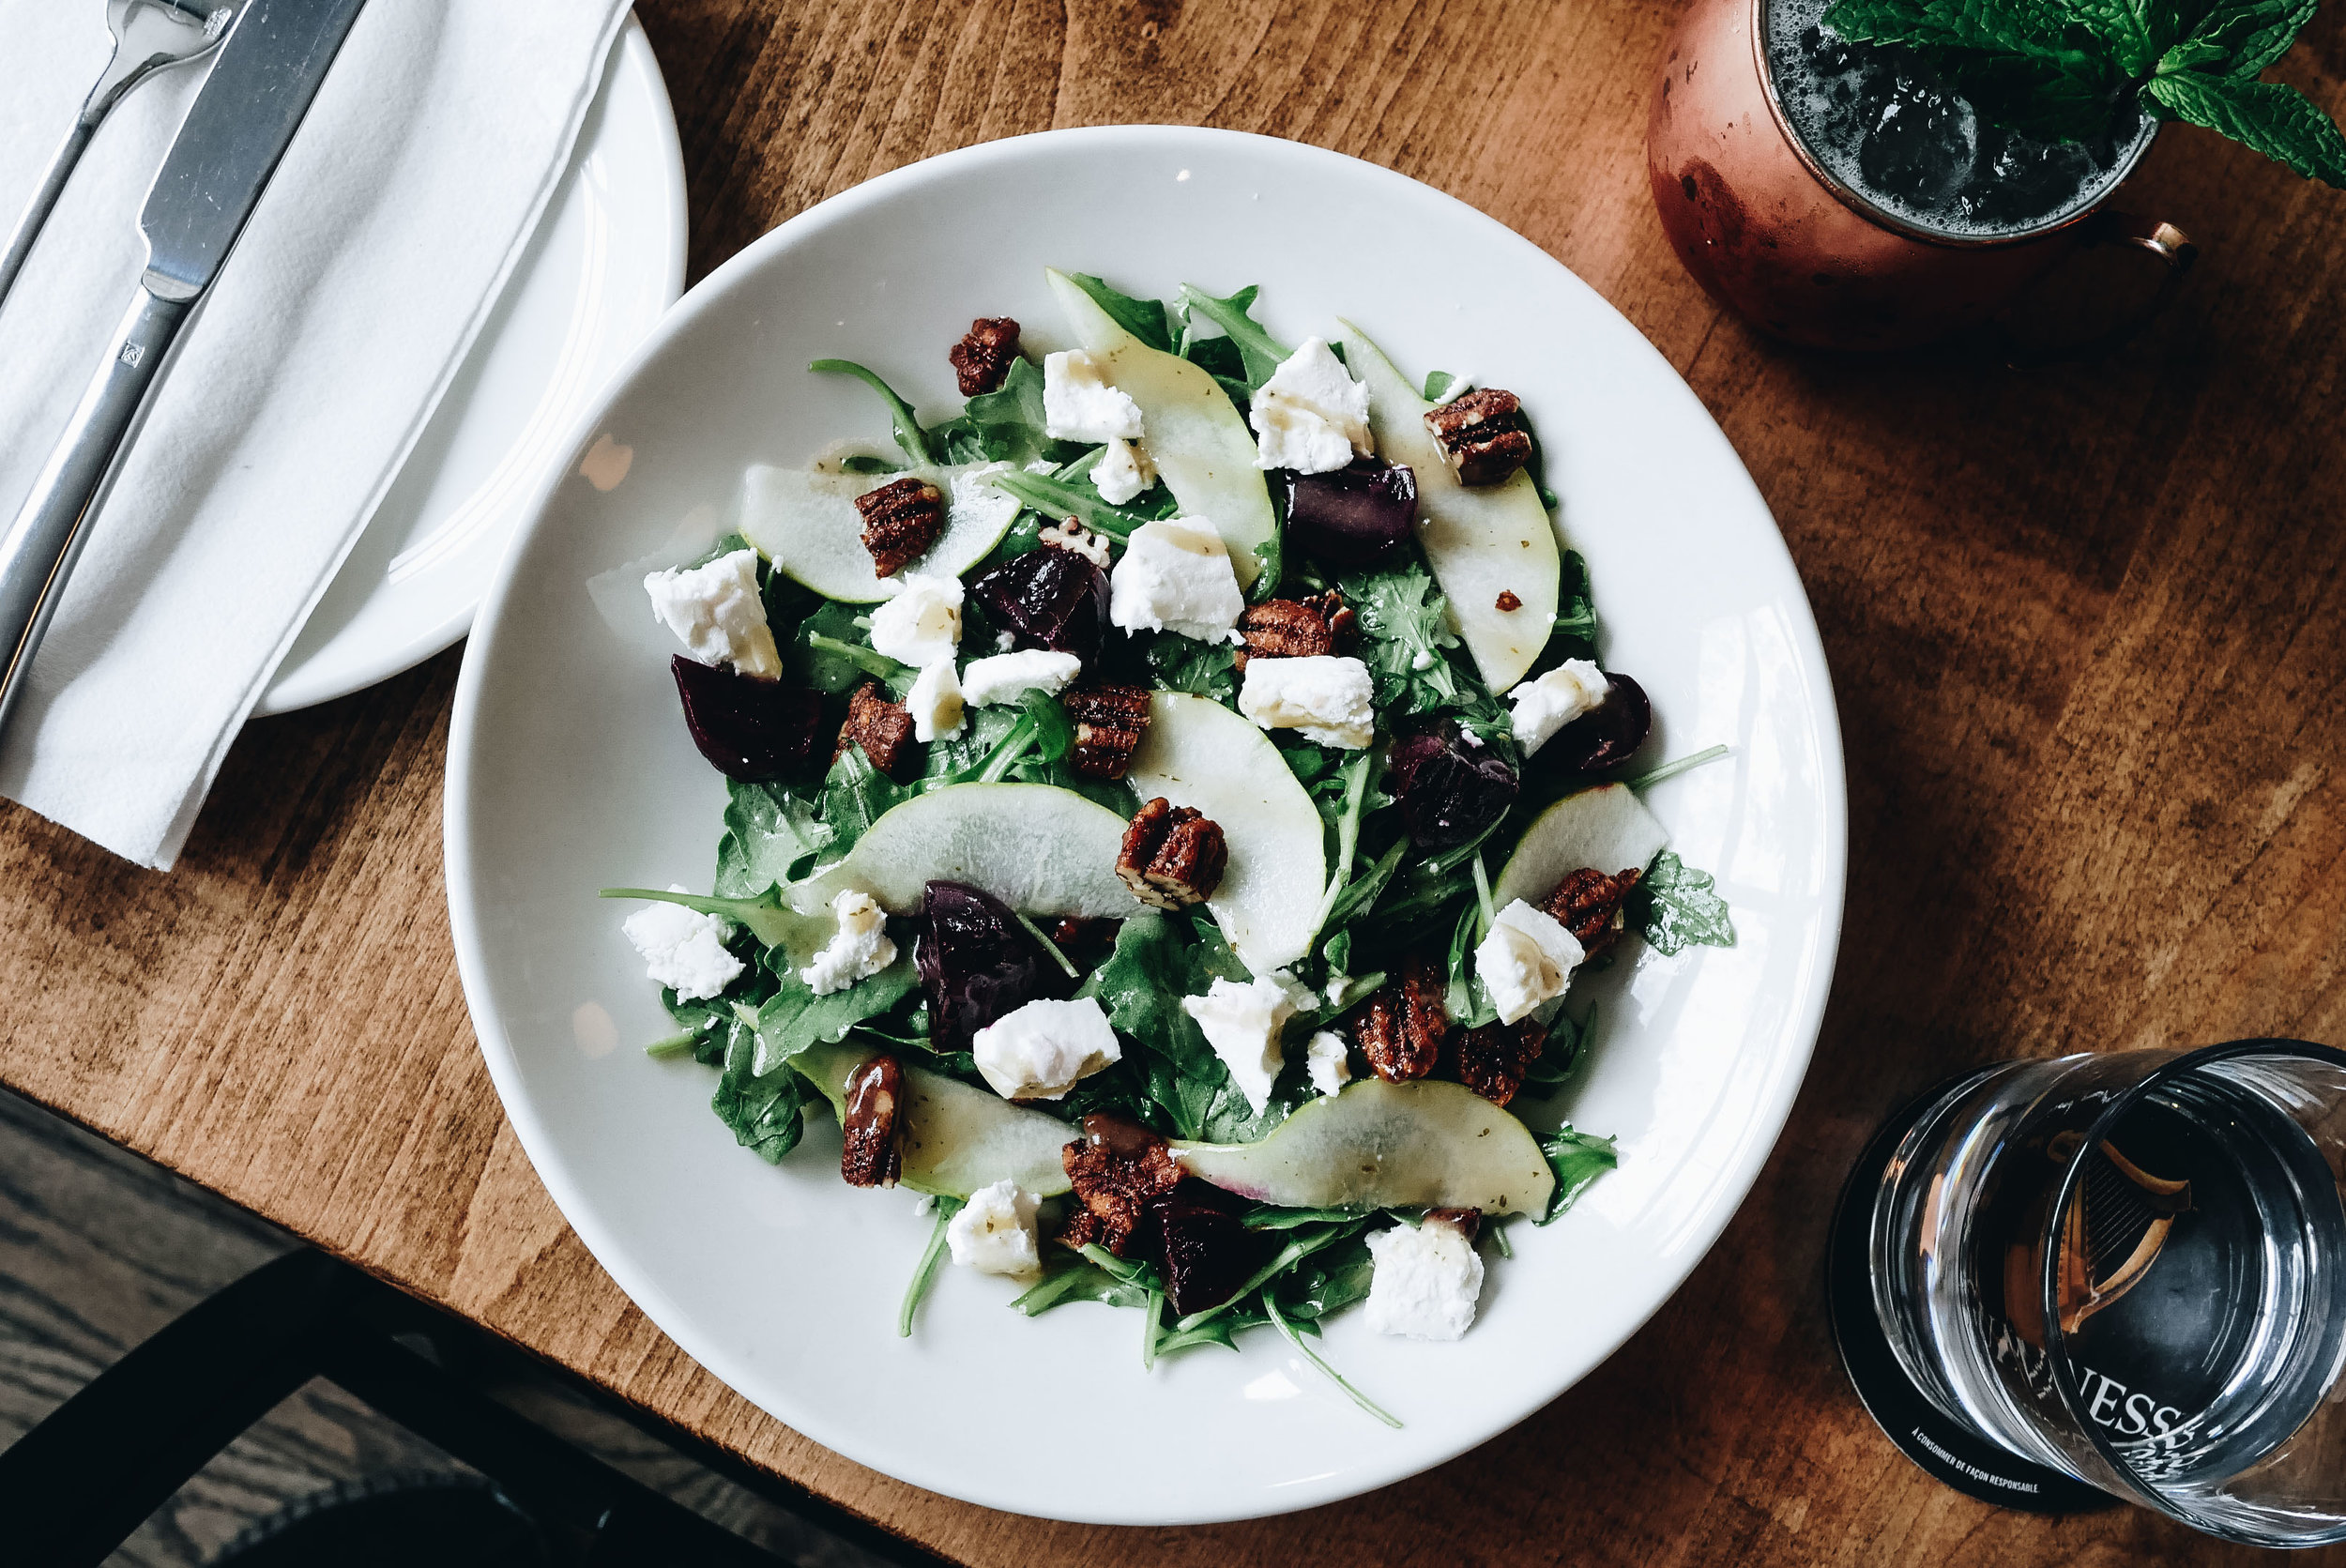
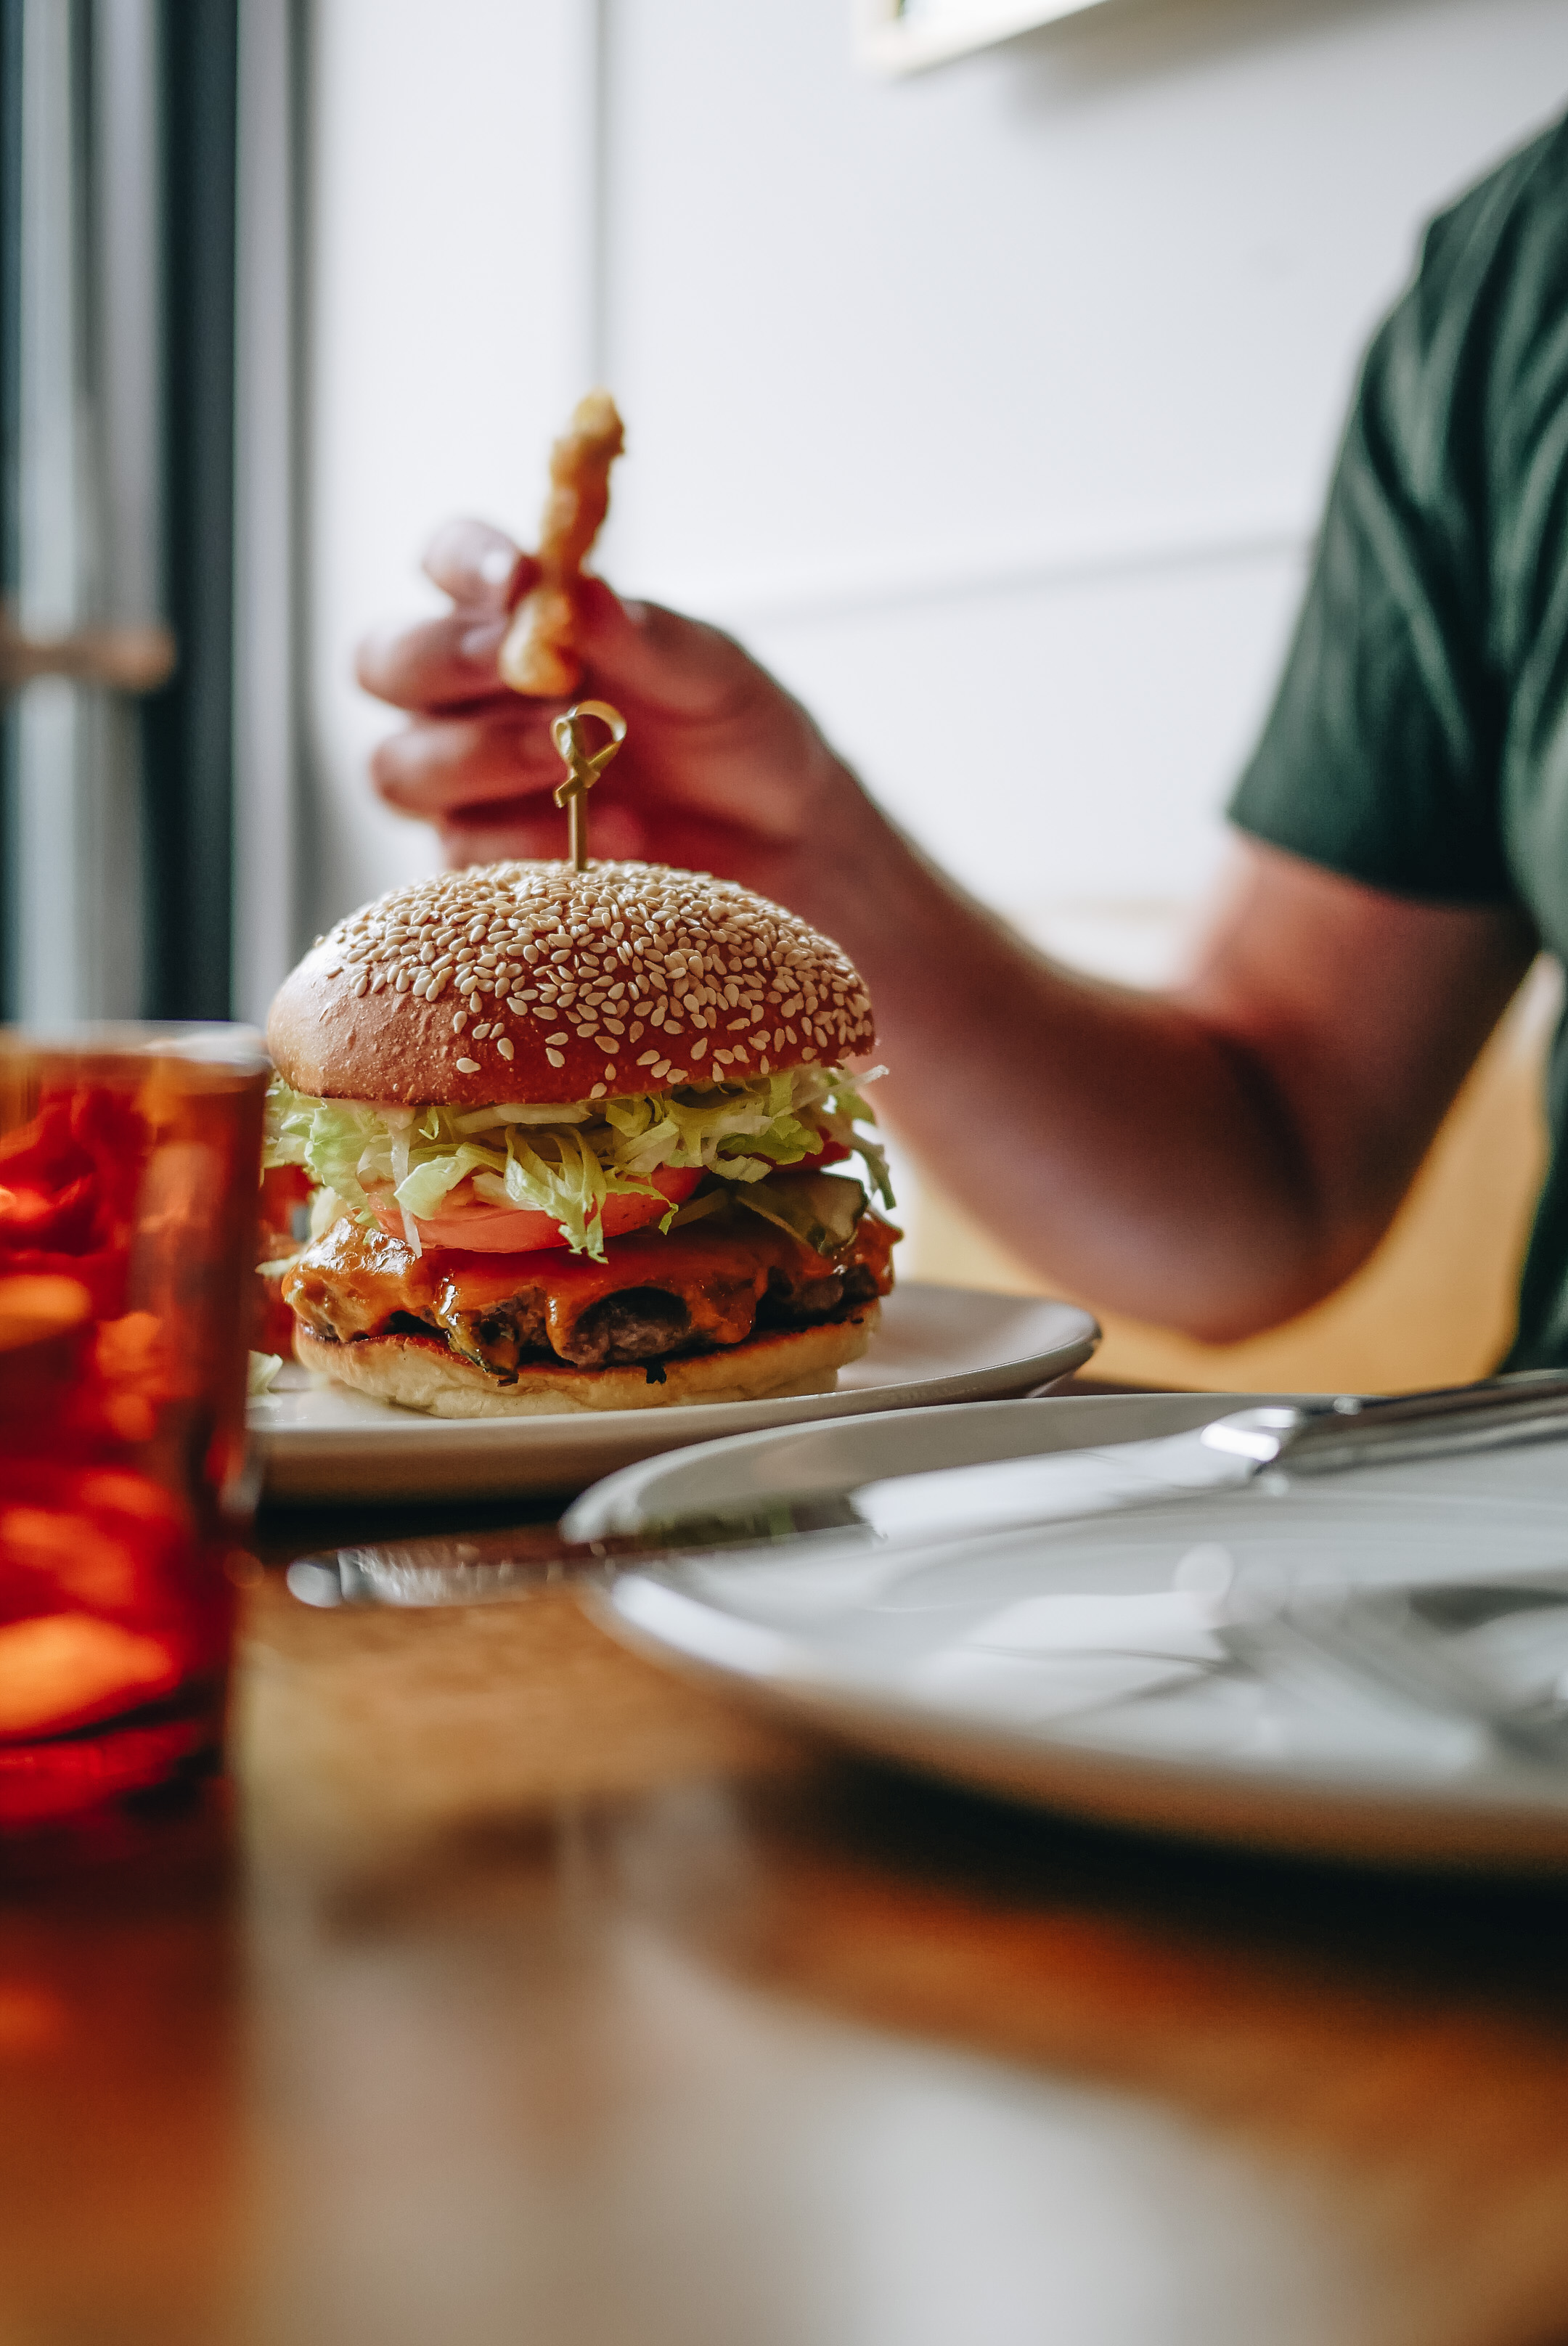
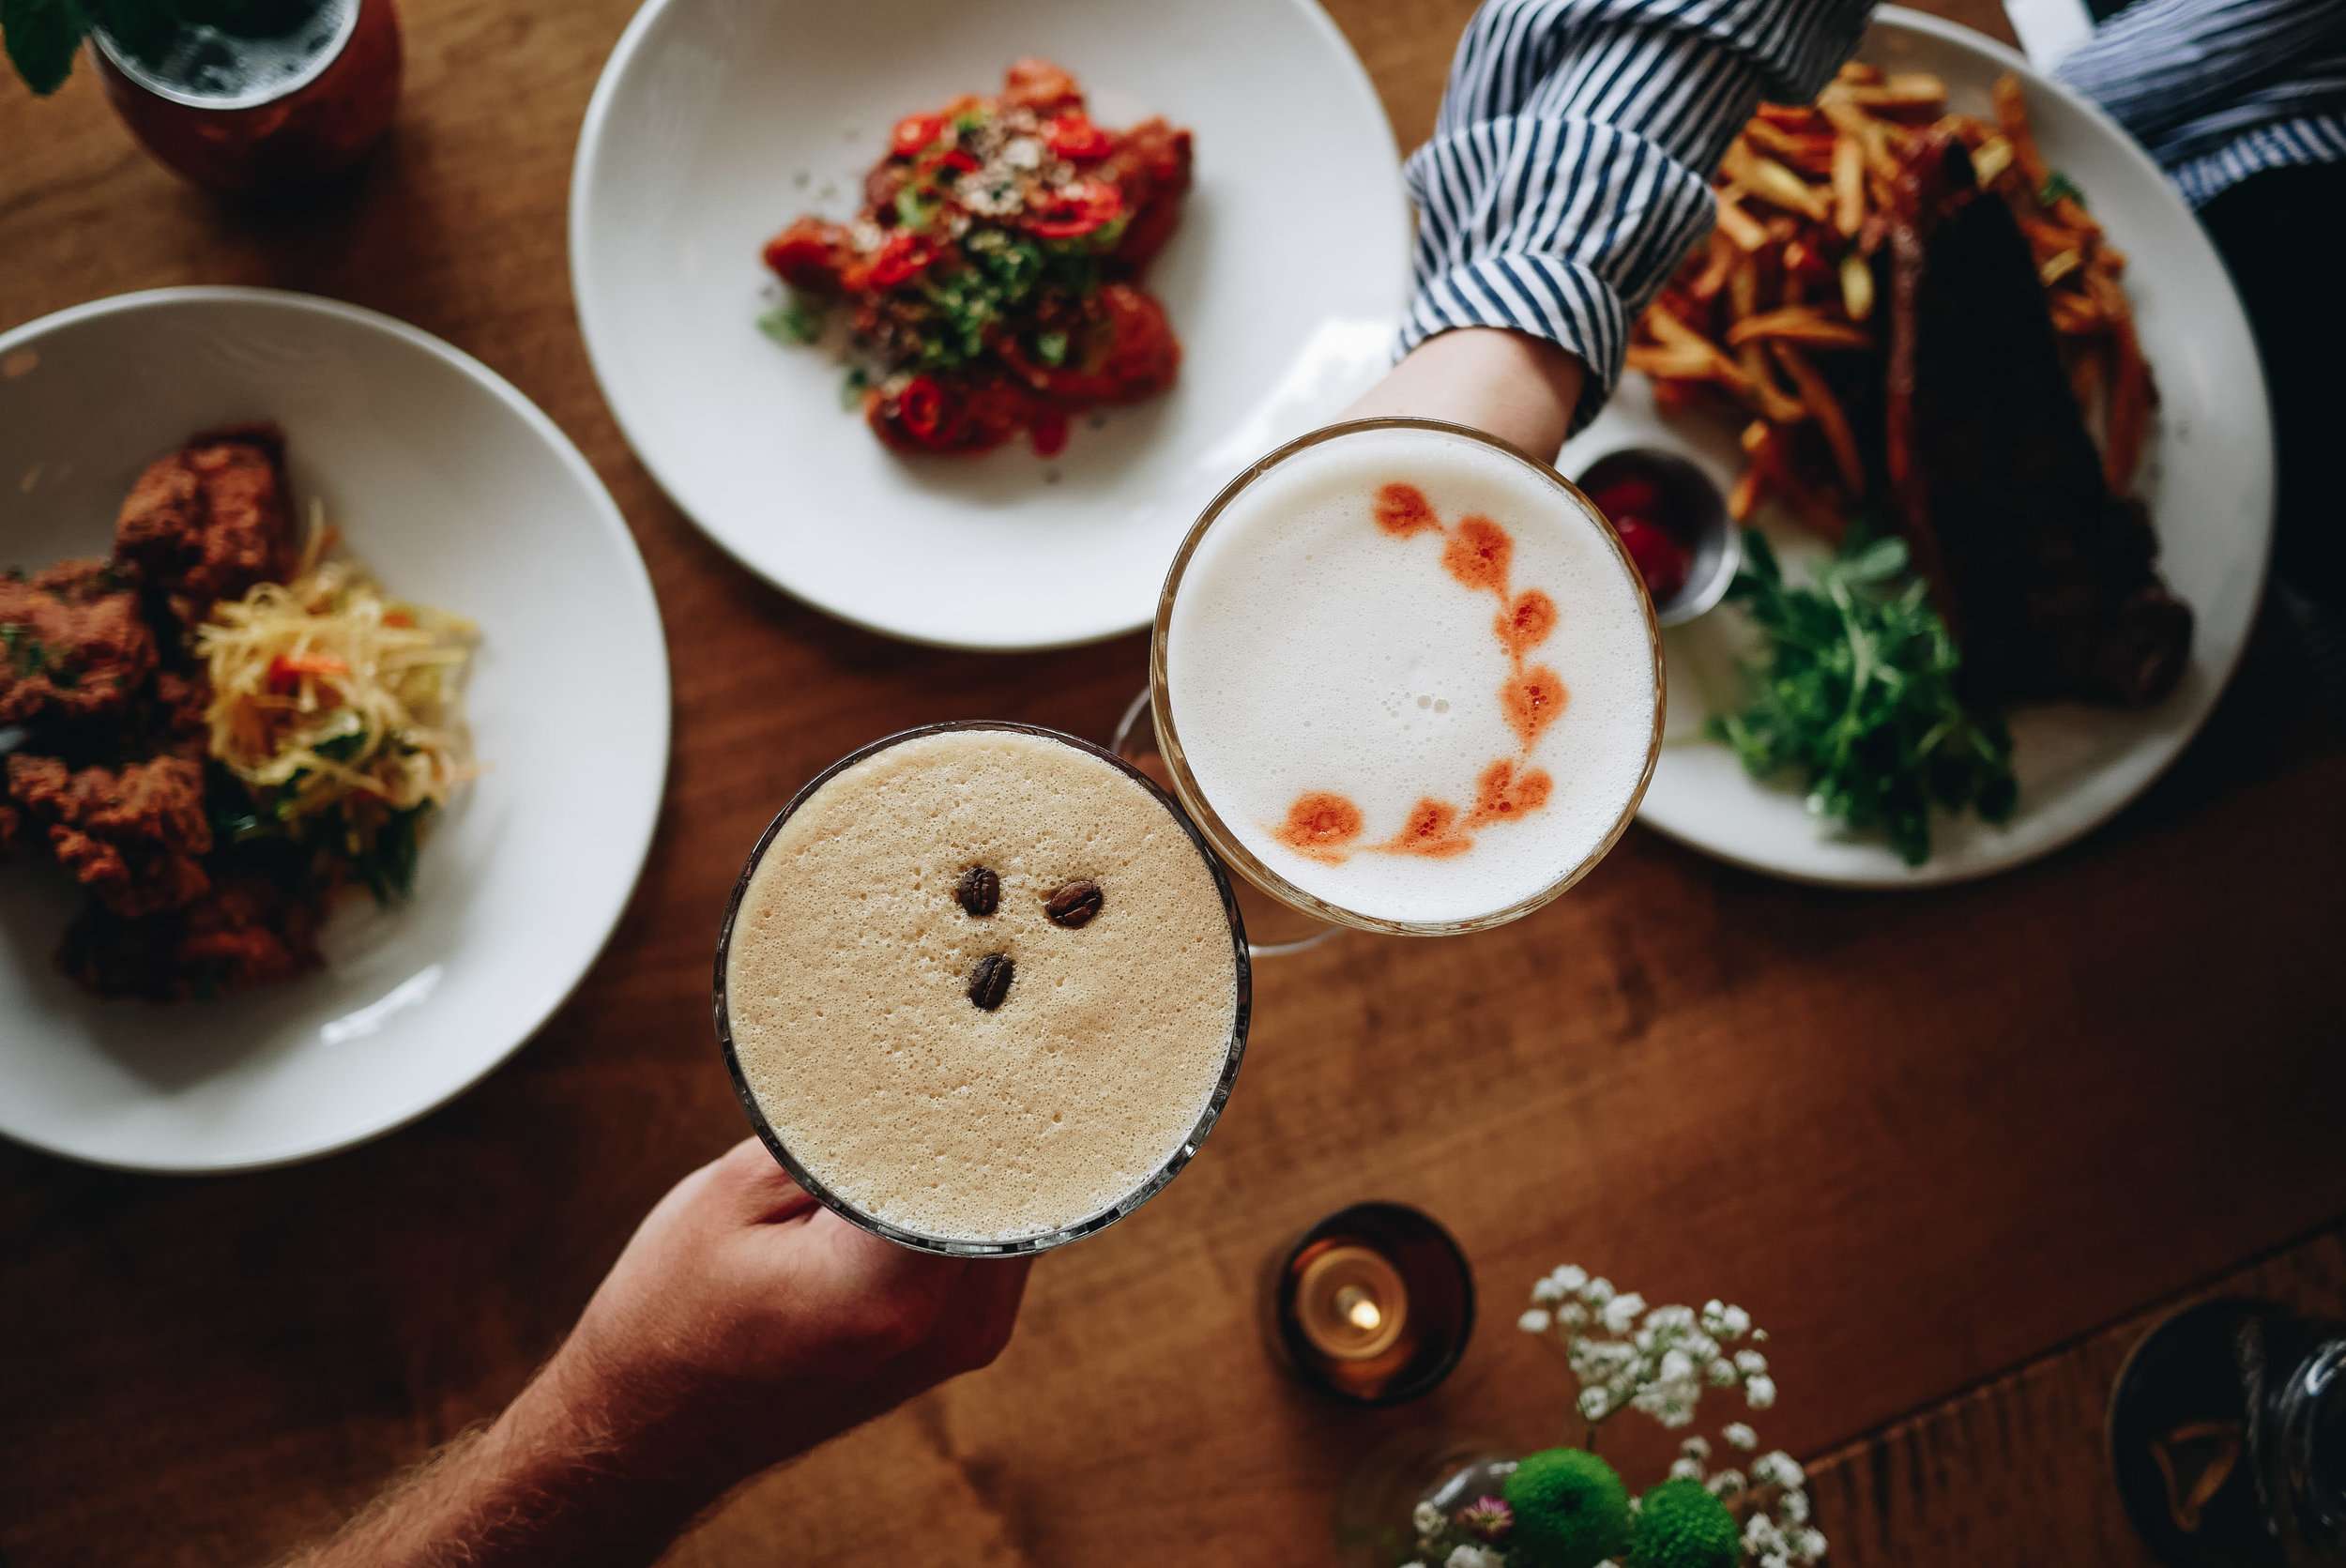
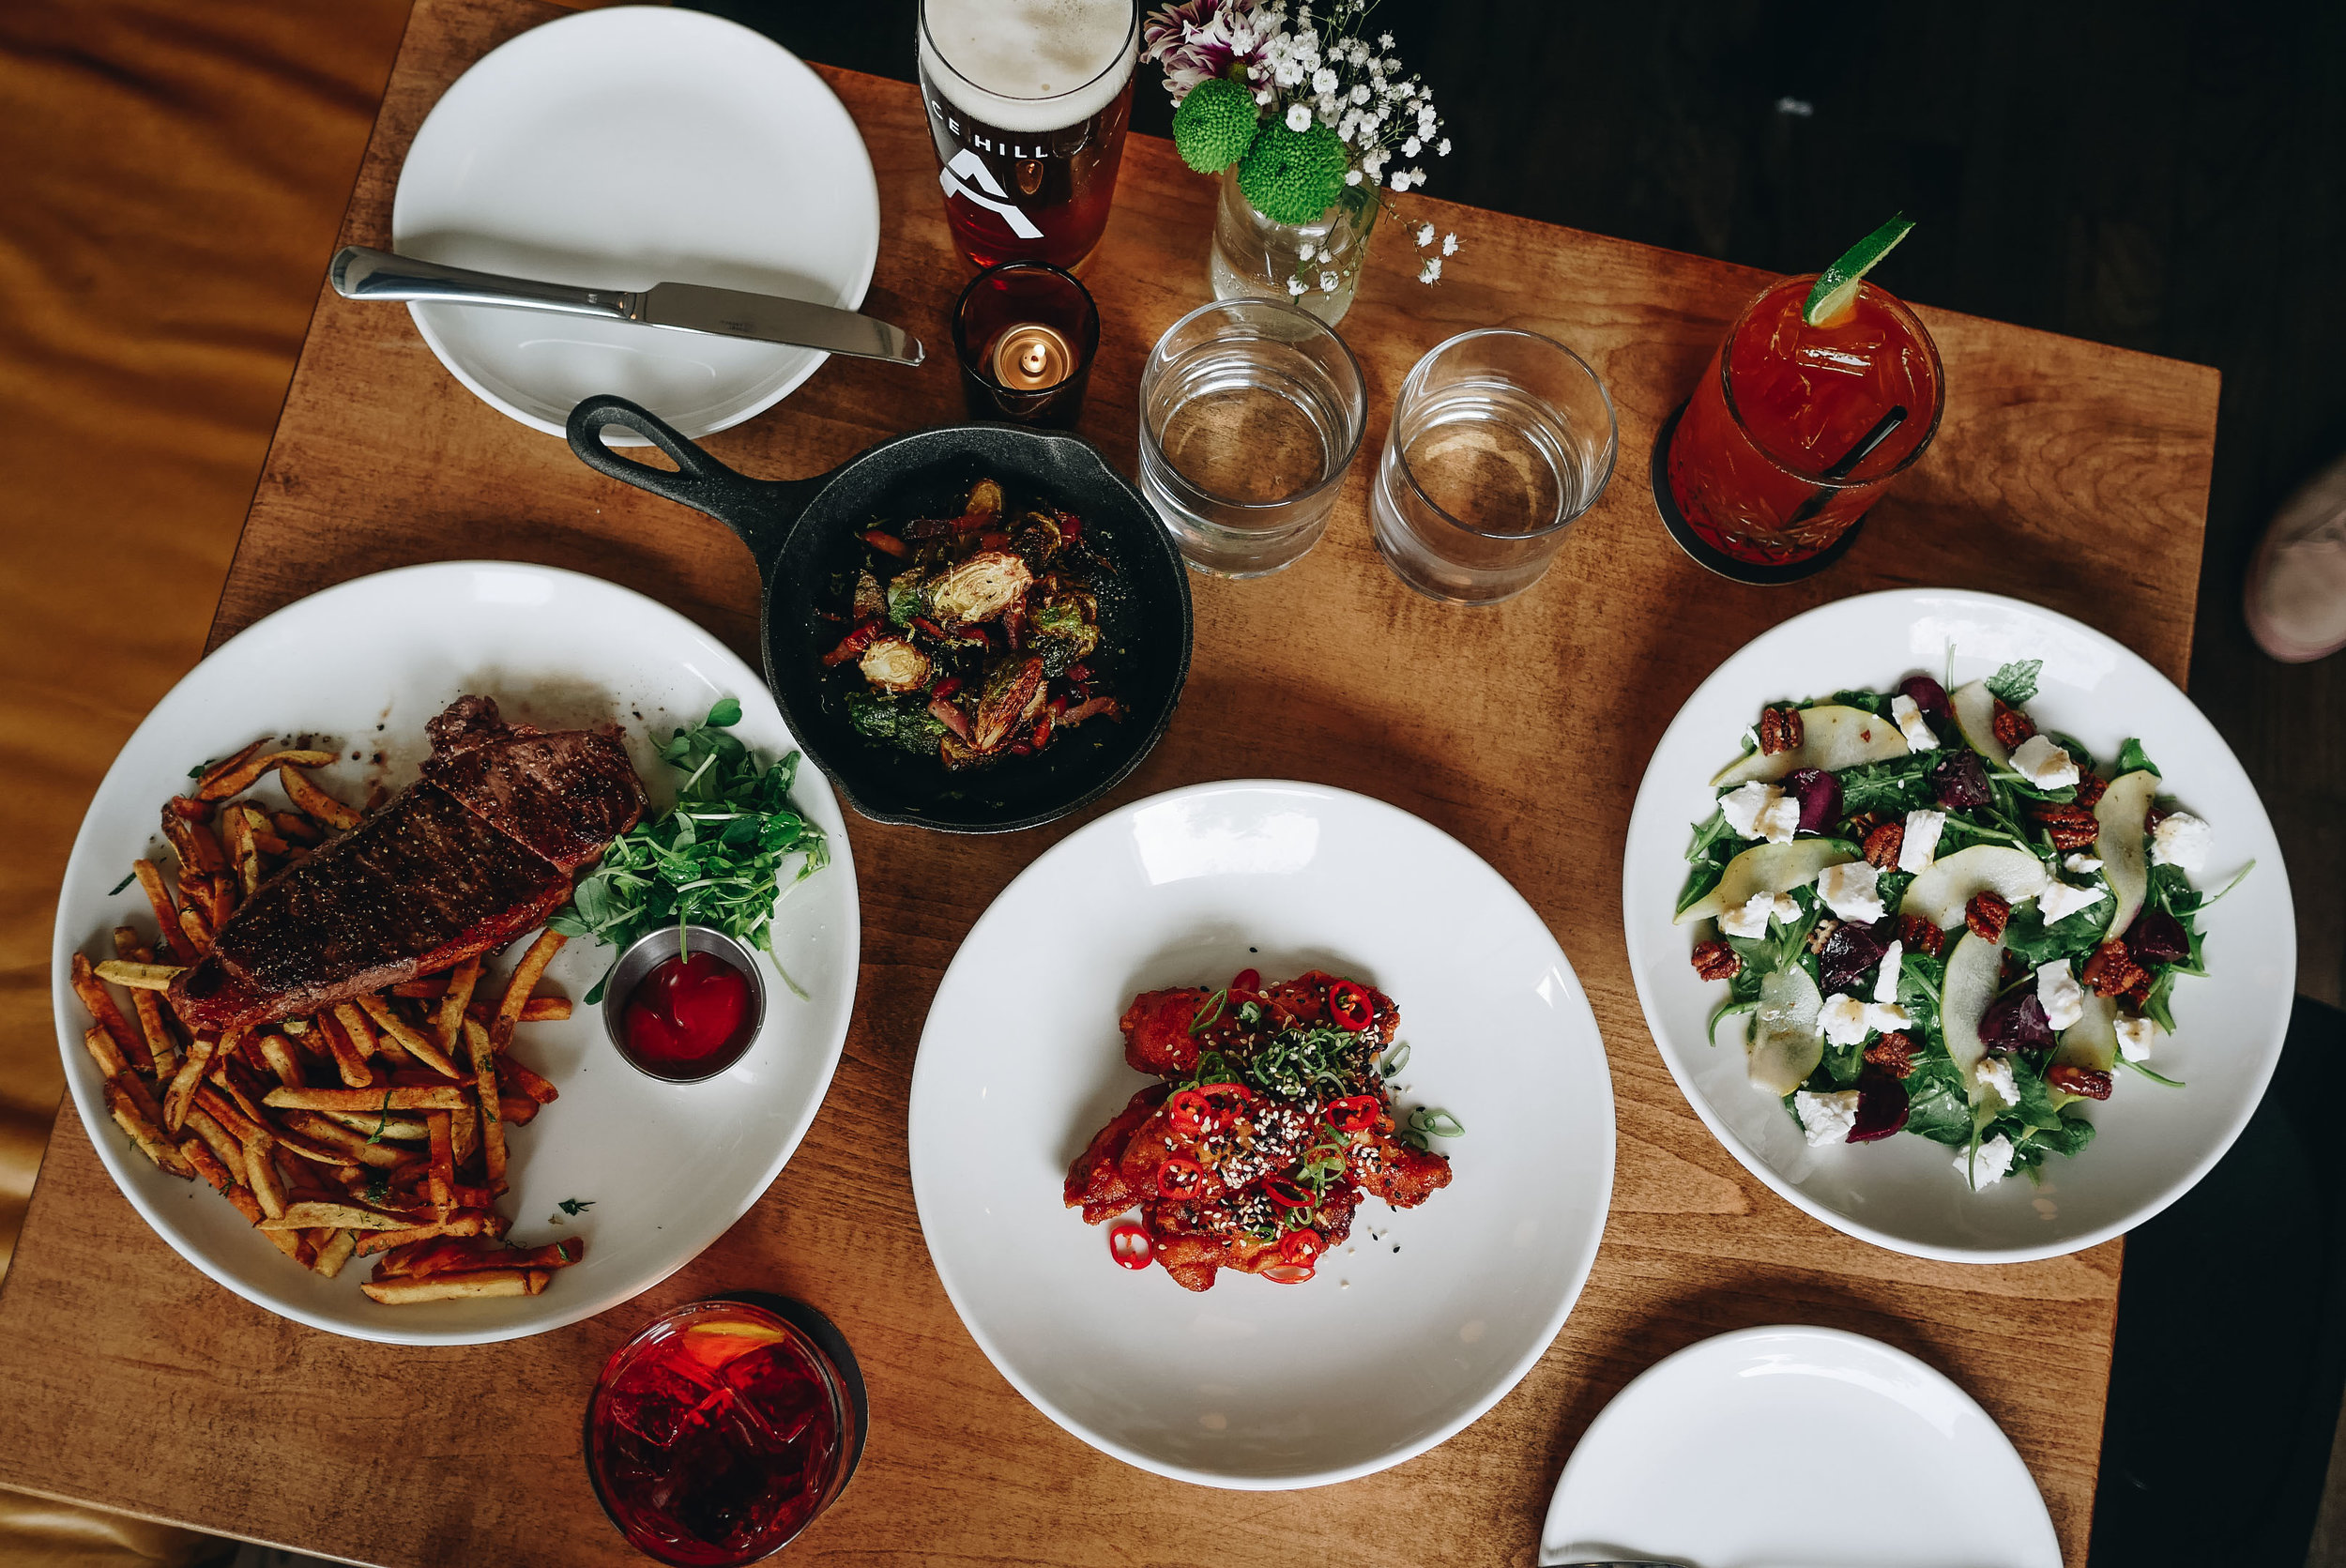
It feels good to be making content back in Toronto. One of my first gigs since I got back from New York was for a fairly new restaurant located in Toronto's Danforth neighborhood called Danforth Sidebar. It's actually right beside the Danforth Music Hall (one of my favorite music venues in the city). Given the recent and tragic mass shooting incident that happened right on its doorstep it was especially nice to help this local business. They deserve the best promotion and content because their food is absolutely stellar. Not to mention the staff are equally amazing.

Enjoy some of my selects from the shoot and be sure to follow them on instagram!

Shoutout to Justin Maguire for producing this shoot - many more to come.


Don't forget to follow me on instagram to see more. @impatrickt #justshootit

pt. //

Comment

TAKE PROFRESSIONAL FOOD SHOTS WITH YOUR PHONE

Comment

TAKE PROFRESSIONAL FOOD SHOTS WITH YOUR PHONE

This is going to be a quick post - I see a lot of people shooting really bad photos of food with their phones so I want to give you a few easy tips to up your #foodie game. Food is one of the latest photography specialties to become democratized by technology so take advantage of that smartphone you have and wow your hungry followers.

This isn't rocket science and hopefully by the end of this you'll have 20k followers so you can eat for free at fancy restaurants.*

*I'm kidding. Don't work for free food that's stupid. Get paid.

Pixel 2 + VSCO

Pixel 2 + VSCO

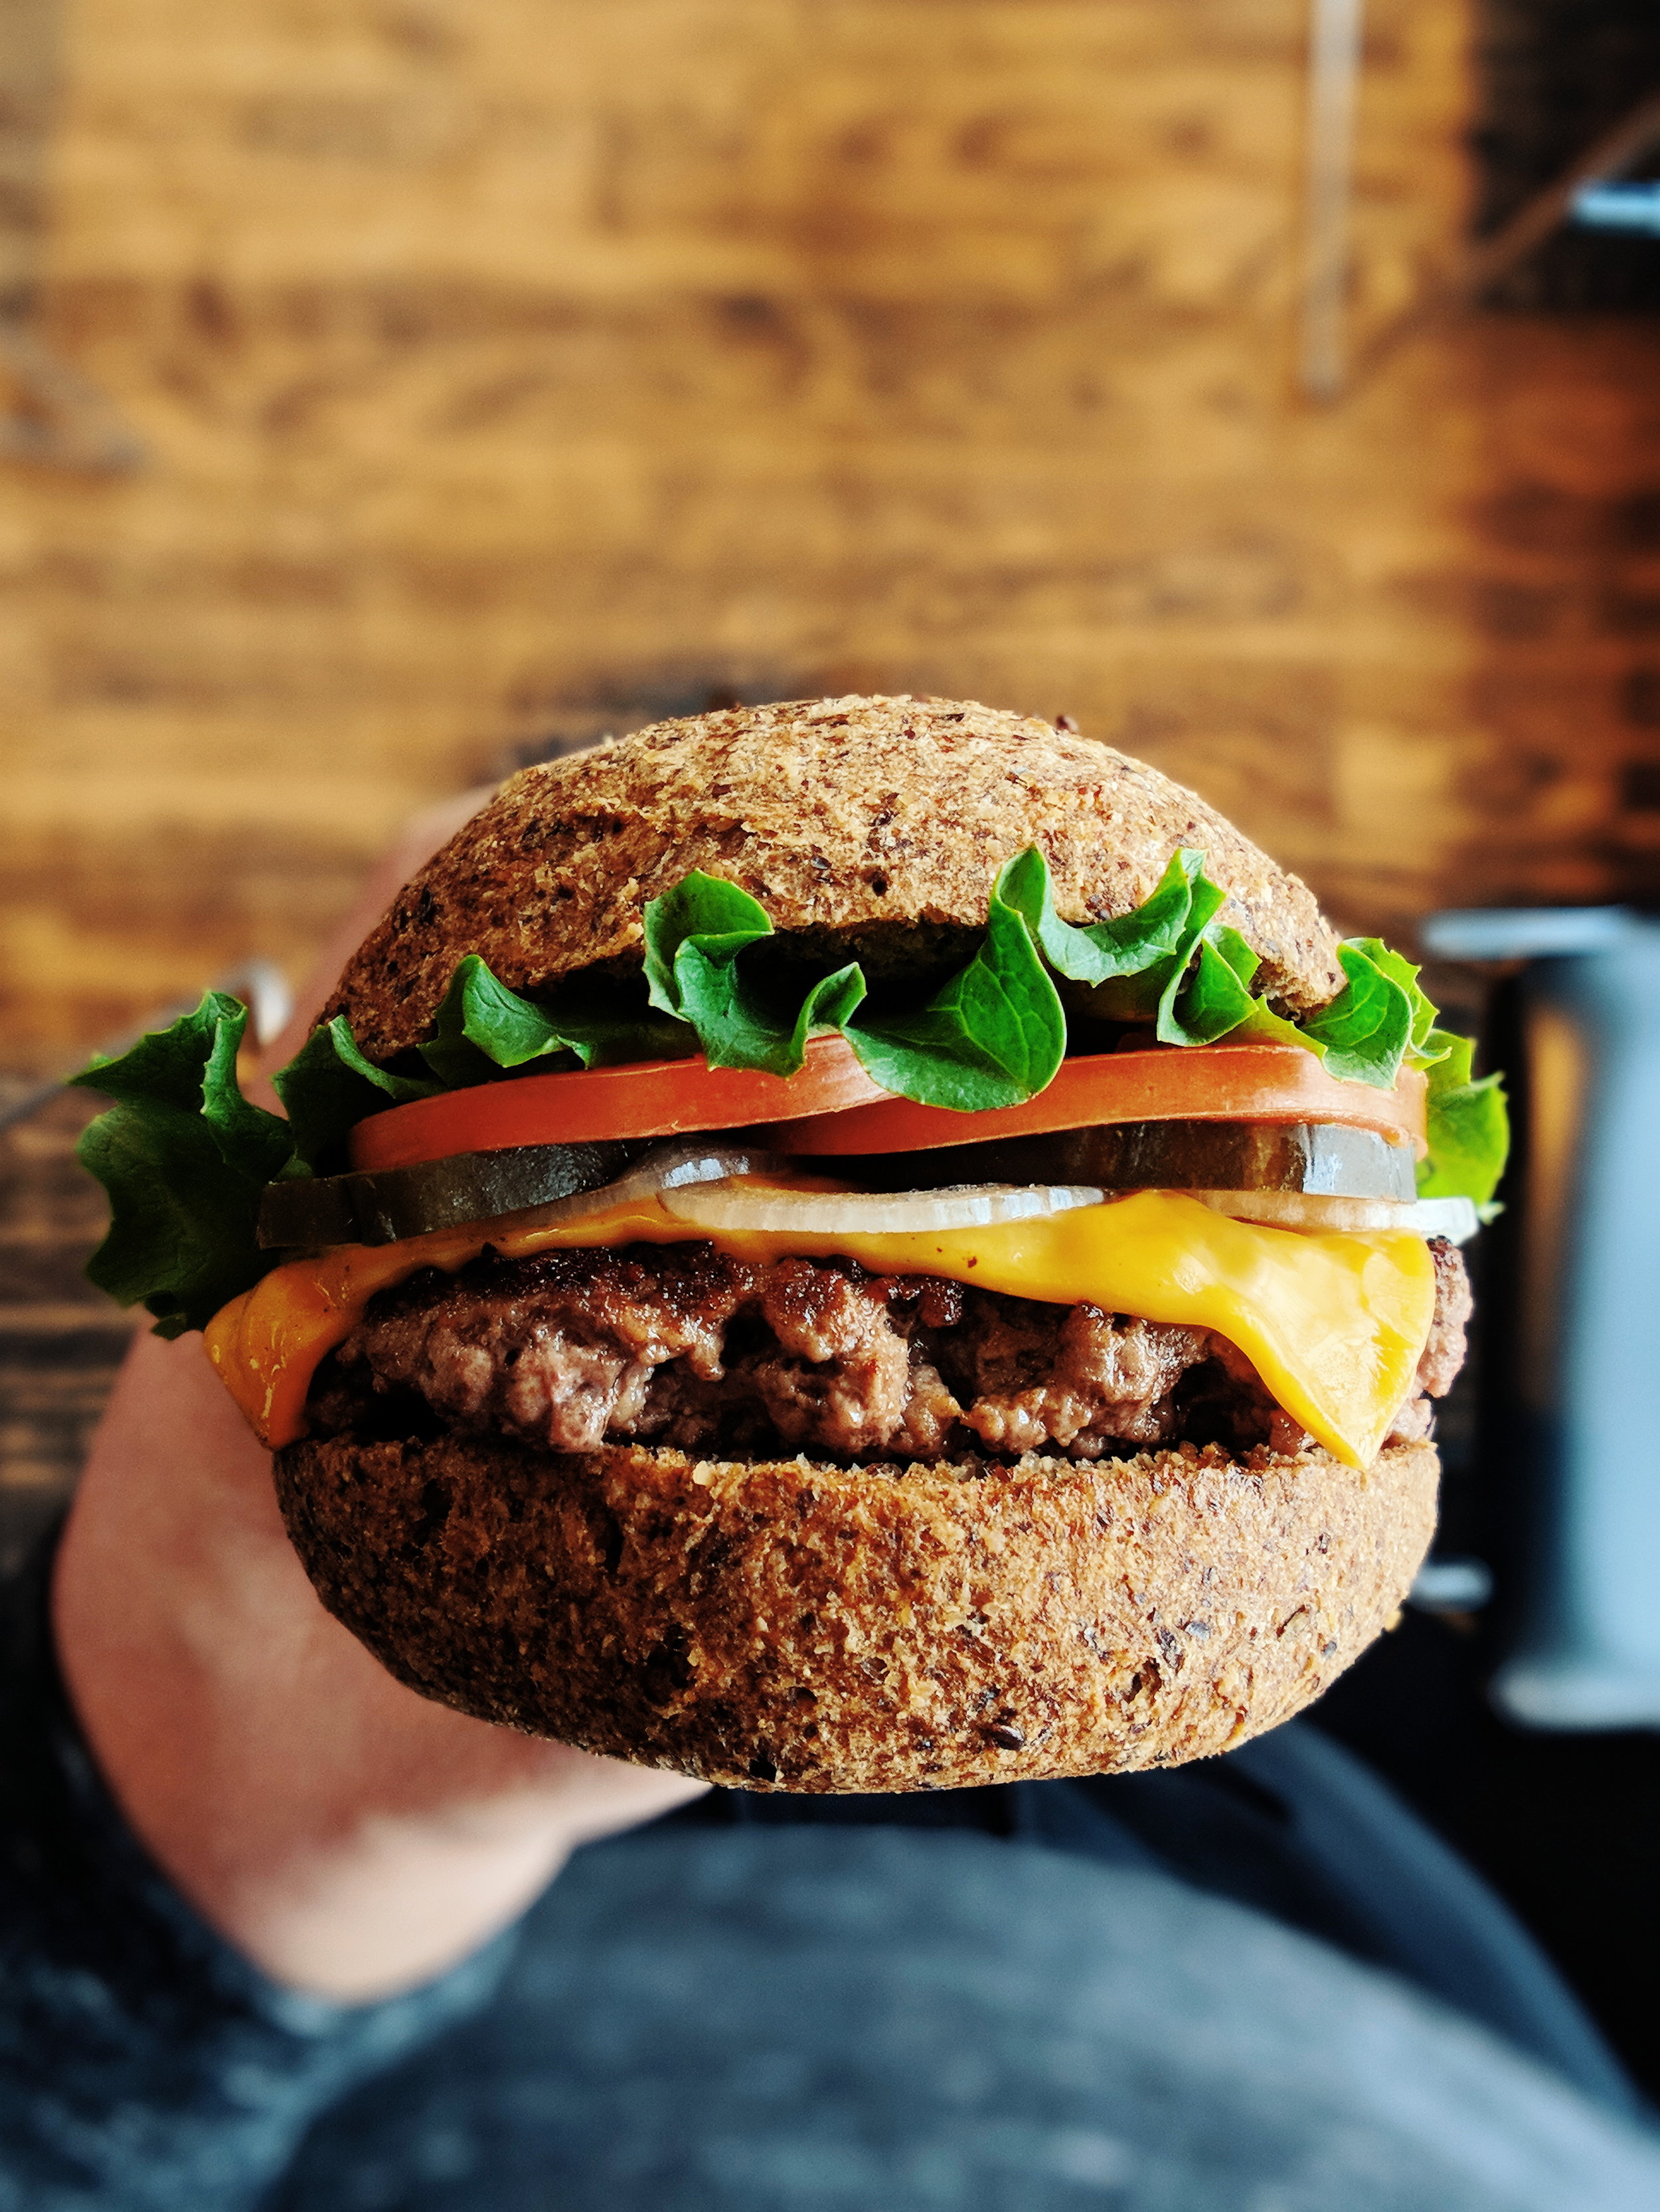
Lighting is probably the most important part of food photography, and I don't mean your flash. In fact the flash on your phone is garbage and it's going to make the food look like crap. I'm talking about nice lighting that isn't overly harsh or yellow. You want a clean bright light source usually coming from an angle. To demonstrate I bought some black presentation board and an eggplant parm from Patrizia's of Manhattan (it was delicious btw). I stacked the sandwich on a cutting board and placed a cheap LED light from Amazon off to the left. I snagged the shot above with the Pixel 2 and edited it with the HB2 preset in VSCO. Voila.

Here's a BTS of the setup:

LOW BUDGET FOR THE WIN

LOW BUDGET FOR THE WIN

If you don't have a lot free time on your hands like yours truly, natural window light is your best bet. Always find a table closest to a bright and large window or walk your food there to get the shot. Here's a couple examples of window light.

95534339-F4BC-41F4-BA26-92CD400BEE8F.jpg
IMG_20180511_220248_469.jpg

Lastly there's basically three main compositions you should stick to. The top down, the POV, and the quarter angle. You really can't go wrong with any of them but top down and POV usually seems to perform best.

Top Down

2018-01-15 10.29.20 1.jpg

POV

Quarter Angle

Extra Tip:
Turn your phone upside down for a lower perspective.

"But the lighting in this restaurant is shit!"

This happens all the time. You have to get creative if you're dealing with less than ideal lighting situations. I'll sometimes use the candle on the table or even someone else's phone with the brightness turned up as an artificial source. Here's an example using candle light to boost the scene up a bit.

IMG_20180507_195401.jpg

To recap everything:
- NO FLASH
- Natural lighting is best (go to the window!)
- Use the three composition rule (POV, Top Down, or Quarter Angle)
- Use a small LED or someone else's phone if you need bit of extra light
- Don't go crazy with editing. Less is more.

There you have it - I told you it wasn't rocket science. I hope these tips help you capture better eats. Don't forget to stop overthinking it and #justshootit.

Follow my food shots: instagram.com/patrickshootsfood
See my food work: patricktomasso.com/food


pt.

Comment

PORTRAITS IN CENTRAL PARK WITH THE PIXEL 2

PORTRAITS IN CENTRAL PARK WITH THE PIXEL 2

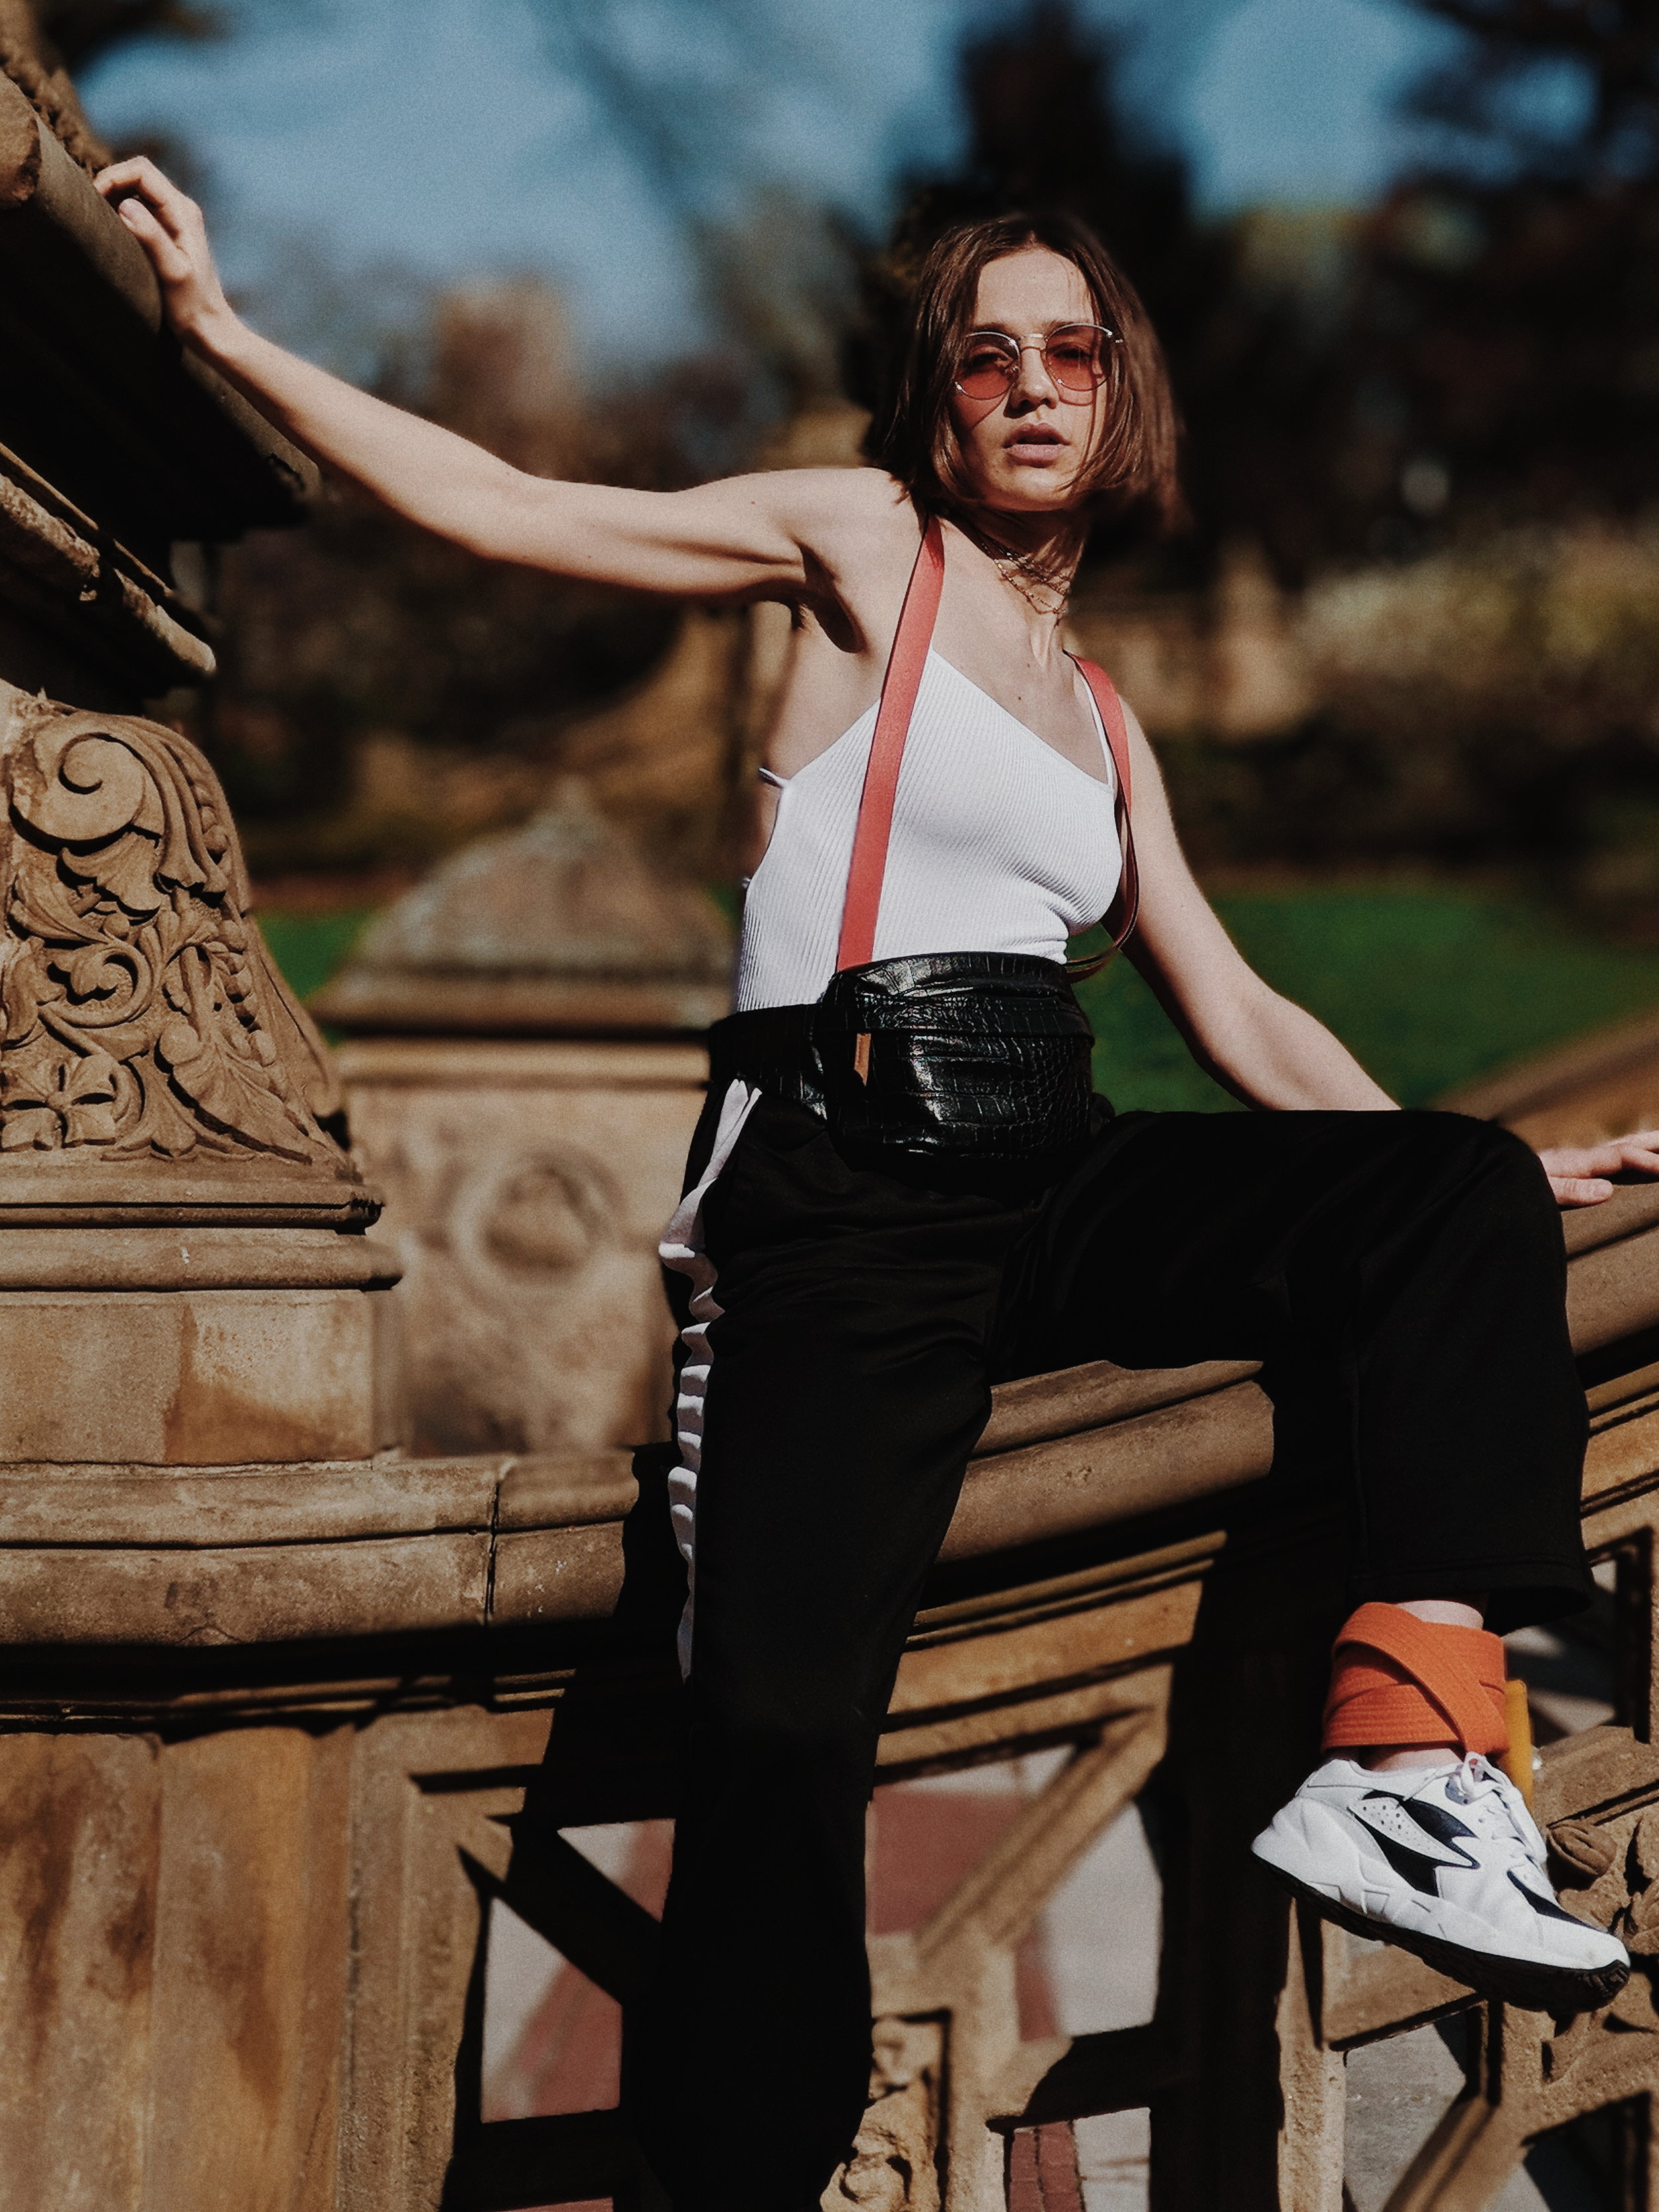
On Saturday April 28th, I had the pleasure of joining a bunch of New York's finest photographers on a spring walk through Central Park. It was all for @nycprimeshot - An account that recently featured one of my photos on their page - They curate some of the best of New York so it was amazing to be in such epic creative company. I wanted to shoot a video of this insta-meet but I also didn't want to miss out on all the fantastic models that volunteered their time, so I decided I would shoot video with my Lumix and shoot portraits with the Pixel 2. Below are some of my selects, all of which are Pixel 2 with portrait mode on.

Scroll to the bottom to see my video of the day.

@susanna_mostaghim + @suuhleena

@susanna_mostaghim + @suuhleena

@danae_k_muratore

@danae_k_muratore

@danae_k_muratore

@danae_k_muratore

model unknown // comment if you know they are!

model unknown // comment if you know they are!

@natali.hope

@natali.hope

@susanna_mostaghim

@susanna_mostaghim

@danae_k_muratore

@danae_k_muratore

@half_pepper

@half_pepper

It was crazy to see how well the Pixel 2 handled portraits, especially from a distance. I don't do a lot of portrait photography but this shoot definitely has me wanting more. Special thanks to all the models that came out. Check out my video of the day below and shout out again to @nycprimeshot for hosting!

Follow me: instagram.com/impatrickt
Watch: youtube.com/impatrickt

#justshootit

THE DRAMA OF FOG AND MIST

THE DRAMA OF FOG AND MIST

Pixel 2 // VSCO

Pixel 2 // VSCO

If you follow me on instagram and watch my stories you'll know that as soon as it starts raining, or there's a bit of fog - I'm immediately hitting the streets. I absolutely love shooting when it's wet and humid out. As winter turns to spring the rapid changes in weather create what I consider to be ideal photographic conditions. Overcast sky, wet surfaces, and a thick haze.

Pixel 2 // VSCO

Pixel 2 // VSCO

Sometimes it's not always as foggy or misty as we want it to be but thankfully there's an incredibly easy way to add a bit of drama to your moody grams with an app called Lens Distortions.

With the Lens Distortions app there's a plethora of options for adding dynamic layers to your image, my personal favorite is the Fog II pack - Below I will show you how easy it is to add a quick layer to a simple image. Always start with the original image (no edits) we will apply our filters after we add the fog we want.
 

Screenshot_20180426-144948.png

It's really as easy as picking a layer and then playing with opacity/placement until it blends into the image naturally. I did a quick behind the edit of this on my Instagram and I had a few DM's from people that couldn't even tell that I added the fog in post. A great magician never reveals his secrets - good thing I'm not a magician. Once you have your fog set it's time to edit the photo. We'll use VSCO for the final edits.
 

VSCO Formula

VSCO Formula

Here's the final image:

2018-04-25 10.26.03 1.jpg

You can't be afraid to get a little wet to grab shots like this - Sometimes I find myself standing on a street corner waiting for the right person to walk by for up to 10 minutes at a time. Patience is key.

Pixel 2 // VSCO

Pixel 2 // VSCO

Pixel 2 // VSCO

Pixel 2 // VSCO

Pixel 2 // VSCO

Pixel 2 // VSCO

Next time you wake up and it's gloomy out don't be upset - It's a great time to go explore and capture a new mood that you may not have felt happy about before. It beats Pizza and Netflix... (it doesn't).

Apps Used:
Lens Distortions
VSCO

See more of my work on Instagram and watch more of my tips on YouTube. #JustShootIt


Unsplash x NYC Photowalk

Comment

Unsplash x NYC Photowalk

On Saturday April 21st I had the pleasure of joining a few other talented photographers on a photowalk for Unsplash. Daniel Gold saw that I was in NY and sent me a DM the day before. Thankfully my schedule was open to hang out for the afternoon. 

upload.jpg

I met a lot of cool and talented people that I hope to collaborate more with in the future. Check out some shots I grabbed and watch the video at the end for some more scenes from the day. 

upload.jpg
upload.jpg
upload.jpg
upload.jpg
upload.jpg
upload.jpg
upload.jpg
upload.jpg

We concluded the day with some brews and eats along with some really great conversation. It was awesome to meet such great people - I've never met an Unsplash user I didn't immediately connect with. Looking forward to the next one!

Photo by @jessemyfriend

Comment

Why I love uniform compositions.

3 Comments

Why I love uniform compositions.

PIXEL 2 // VSCO

PIXEL 2 // VSCO

Something that defines a lot of my photographic style is symmetry and leading lines (lines that lead you into the frame) - I like scenes that draw the eye towards the center of the image, and I like when there's a uniform quality to the overall composition. What's on the left is balanced by what's on the right. What's on top is balanced by what's on the bottom. Thankfully there's a few easy ways to ensure this uniform quality while composing your shots. The first one is the most basic. The grid.

PIXEL 2 SHOWN - STOCK GOOGLE CAMERA

PIXEL 2 SHOWN - STOCK GOOGLE CAMERA

Most if not all modern smartphone cameras as well as dedicated photo cameras have some sort of grid function. Usually it's a 3x3 or 4x4 - sometimes, like in the case of the Google Camera app you can select the "golden ratio" grid (my personal favorite). This will help you while composing to ensure everything is level, symmetrical and there's nothing distracting the eye. You want to make sure each of the boxes make sense. The center of the box should be your main focal point and anything in the outer boxes should be drawing your eye towards the middle. See below for an example of the grid in action.

Notice how the eye is immediately drawn to the person standing in the bottom middle block but the shape of them draws you upwards towards the center. All of the other surrounding blocks are also drawing you towards the middle. This also demonstrates how even in a "busy" composition we can still use the golden ratio to remain symmetrical and uniform.

PIXEL 2 // VSCO

PIXEL 2 // VSCO

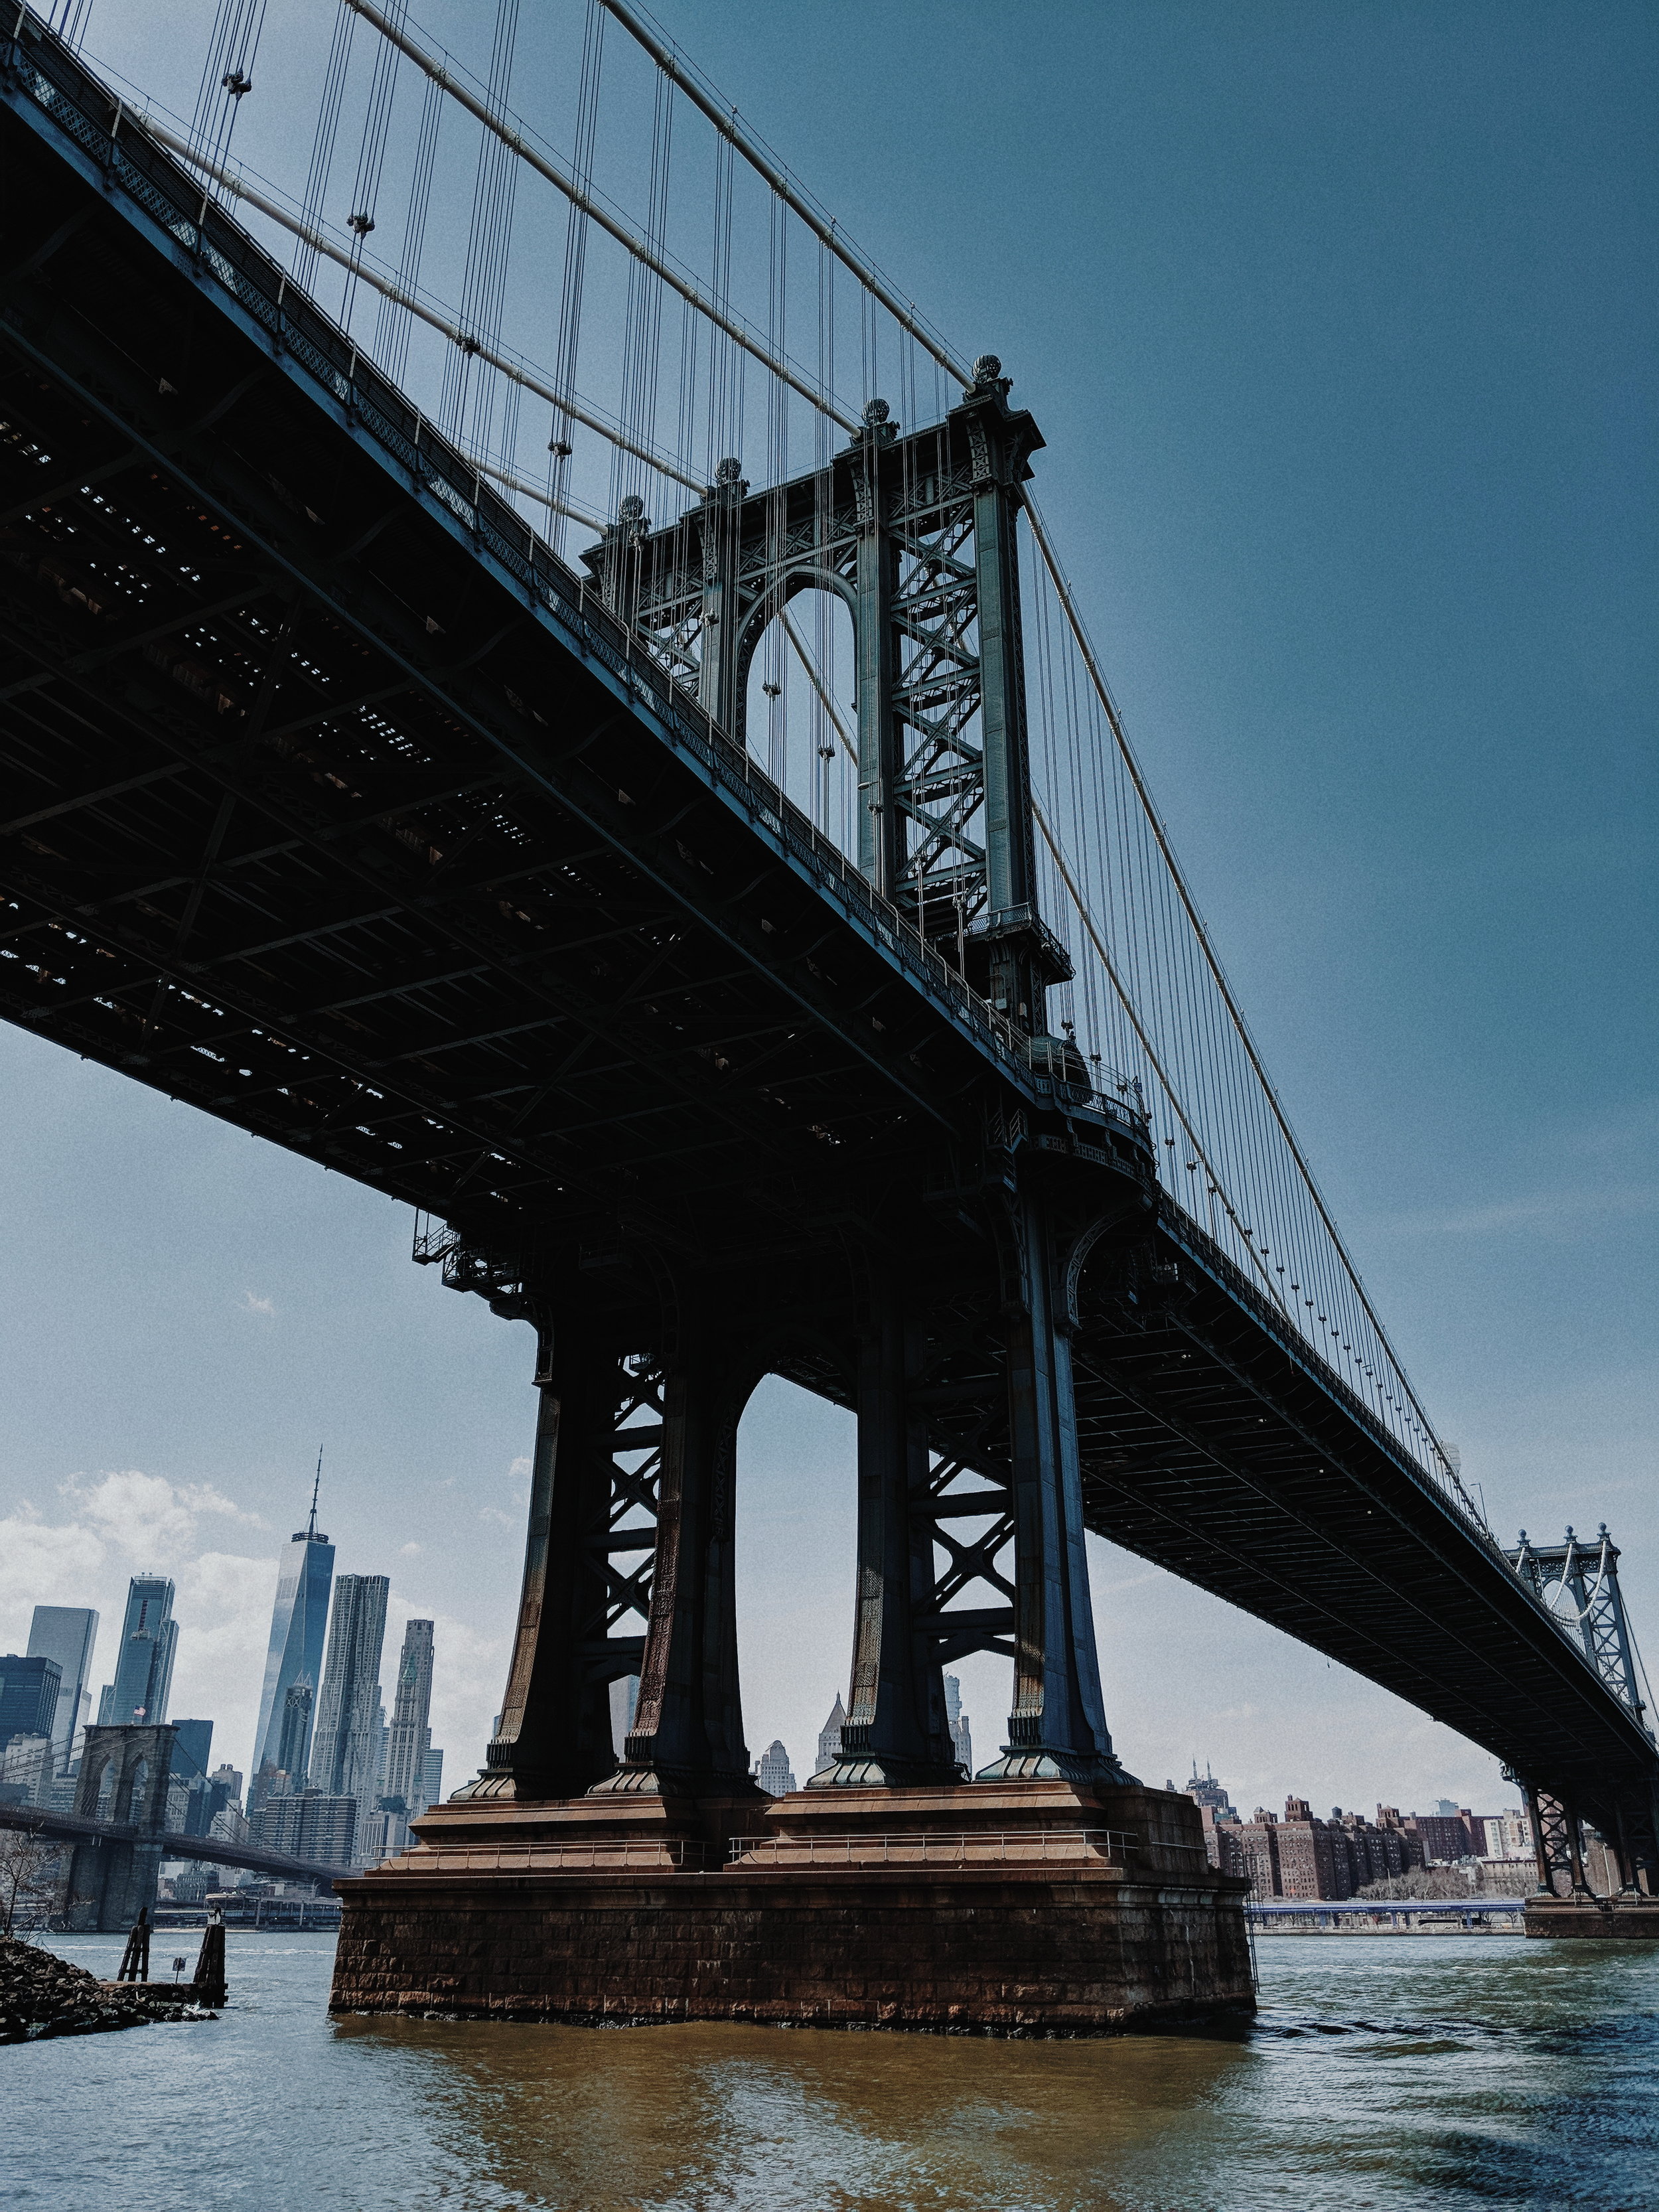
We're surrounded by leading lines and symmetry in our everyday life - Most notably in architecture where this basic design principle is typically utilized to remain uniform and consistent. Perhaps that's why I enjoy shooting buildings and structures so much because it makes my life a lot easier when composing shots. The architects and builders have done the heavy lifting for me (quite literally) and all I have to do is frame everything properly.

PIXEL 2 // VSCO + LENS DISTORTIONS

PIXEL 2 // VSCO + LENS DISTORTIONS

PIXEL 2 // VSCO

PIXEL 2 // VSCO

Ever wondered why this shot of DUMBO in Brooklyn, NY is so popular? It's because of everything we discussed above. It's the symmetry of how the buildings line up with the Williamsburg Bridge and how the Empire State Building rests perfectly in its arches. It's calculated and planned. All you have to do is compose the shot from the right angle and you have a near perfect image.
This search of "DUMBO" on Unsplash demonstrates how many photographers have captured this gem of leading lines.

My last tip for creating well composed symmetrical shots is to have someone or something in the shot beyond just architecture. Much like Andre Benz demonstrated in their shot of DUMBO above, having the woman walk down the street adds a whole new dimension to the image. It feels more alive with her there. If you can head out with friends when you shoot (and they are patient) have them walk across streets, down alleyways, and stand in as a prop for you when need them. Make sure you return the favour though as it can be a bit of tedious process of trying to line them up properly with their surroundings. At least buy them a slice for the trouble after ;) 

Here's some of my favorite shots that may seem unplanned or "lucky" but they are actually the result of numerous attempts of staging the right stride by, standing in the middle of the street, waiting for a stranger to walk in the perfect spot of the frame, and waiting for traffic or people to clear an area. With the tips of above, a little perseverance, and some patient friends - You can easily take shots like this with your own creative spin. The first thing you have to do though is just shoot it.

PIXEL 2 // VSCO + SNAPSEED

PIXEL 2 // VSCO + SNAPSEED

PIXEL 2 // VSCO

PIXEL 2 // VSCO

PIXEL 2 // VSCO

PIXEL 2 // VSCO

I've released all of my images displayed here on Unsplash for you to use as you wish. I've also incuded a few more from my archive. Enjoy.
- PT

Follow me on Instagram for more.  instagram.com/impatrickt
Watch me on YouTube for more tips and reviews. youtube.com/impatrickt

3 Comments

Street Photos in New York with the Pixel 2

6 Comments

Street Photos in New York with the Pixel 2

Pixel 2 // VSCO

Pixel 2 // VSCO

I've been spending quite a bit of time in New York City recently for reasons I will probably get into in a later post, but in my most recent trip out there I took some time to shoot some street photos entirely on the Pixel 2.

Pixel 2 // VSCO

Pixel 2 // VSCO

The interesting thing about using your phone for street photos is that it's so low profile. I've always felt a bit awkward using my DSLR or even small mirrorless cameras out in public, especially when you're taking photos of strangers. Understandably, people get creeped out when a random person takes a photo of them - when you use your phone you can be quite sly and most people won't even notice you snapping a shot. Always be respectful of personal space, if you're in a public place you're allowed to shoot photos but use your judgement. If it feels weird. It probably is. 

Pixel 2 // VSCO

Pixel 2 // VSCO

Pixel 2 // VSCO

Pixel 2 // VSCO

Pixel 2 // VSCO

Pixel 2 // VSCO

After a few subway trips I ventured above ground in Chinatown and started shooting from the hip as we walked passed the fruit markets and restaurants.

Pixel 2 // VSCO

Pixel 2 // VSCO

Pixel 2 // VSCO

Pixel 2 // VSCO

Pixel 2 // VSCO

Pixel 2 // VSCO

I always forget how much I love doing candid street photography. There's an art and a lottery to it all - You know what you want to capture, and you sort of know how to capture it... but ultimately the photo you get is often nothing close to what you were expecting. That's the beauty of it because it's not scripted or staged - you're deciding what to freeze in time forever out of the millions of things that are happening around you at every moment. It's very special.

For the curious I edited all of these in VSCO with my own tweaks to the M5 preset. As always I urge you to experiment and find a look a you really like and have fun. Don't forget to just shoot it.

See more of my photos in New York: instagram.com/impatrickt


6 Comments